If you haven’t already heard, Roku recently released a feature that enables you to mirror your Android and Windows smart phone to your TV through the Roku%203 Streaming Media PlayerRoku 3, andRoku Streaming Stick. Currently, this feature is in beta meaning that they are still working out the bugs. Additionally, this beta is specific to Roku owners in the US, and UK. If you are wondering how this is done, read on! Follow the steps below and you will be mirroring your smart phone to your TV in no time!
Verify that the screen mirror is enabled on your Roku player. From the navigation menu:
Go to Settings
Go to Screen mirroring
Verify that the “Enable screen mirroring” is checked
Verify that your Android/Windows device and Roku are connected to the same wireless network
If you did everything correctly, you will now be mirroring your smart phone to your TV.
Go have fun! Once you have had time to play around with this new Roku feature, let us know what you think. We want to know your thoughts: the good, the bad, and the ugly. Tell us in the comment section below.
Most Android phones allow you to add up to seven home screens to your phone, which enables you to utilize the space for widgets and frequently used apps. While I don’t personally know anyone who has filled seven pages with apps and widgets, I’m sure you’re out there! But what do you do when you decide to go through some spring cleaning on your phone? Do the unused pages just sit there? Luckily there is a solution! Not only does Android allow you to add pages, they also allow you to remove them.
If you have unused pages and are looking to get rid of them, follow these easy steps and those pesky extra pages will be gone in no time:
1. Tap the “Home Screen” button to make sure you are on your home screen
2. While on your home screen pinch your fingers together (while touching your screen). As if you were to zoom out on a picture or map
3. Drag any unwanted pages to the trash bin on the top of your screen (image below).
That’s it, you should no longer have any unused home screens. While you are still in the home screen edit page mode, you also have the ability to add additional home screens by tapping the “+” symbol. Users can also choose a default home screen. This will be the screen that your phone will go to when you select the home button. Simply press the little house on top of the page you would like to make your default home page. If you do not like how your pages are arranged you can also rearrange your home screens by dragging the desired page in front of or behind other pages.
While we do not anticipate you having any issues when performing the steps above, please let us know if you do. You can post any questions or concerns in the comment section below.
One of the top three reasons people do not root their Google%20Nexus 5, Black 32GB (Unlocked)Android phone is they feel it is too complicated/they feel they are not tech-savvy enough to do it. Let us help you overcome these mental obstacles with this simple way for anyone to root most Android phones. Just follow these step by step instructions and you will be rooted in no time!
Disclaimer: It is possible to brick your phone and make it unusuable during this process. Proceed at your own risk. We are not responsible for any issues you run into during the process.
Step 2: Check that your phone is compatible with Kingo Android Root by clicking here.
Step 3: Enable USB Debugging mode
This can be found under Developer Options. If you do not see Developer Options under your Setting menu, you will need to enable it. This can be done on most Android phones by selecting settings, About Phone, then scroll down to the Build Number. Tab the build Number seven times, and you should receive the message, “you are now a developer”.
Step 4: On your PC run Android Root
Step 5: Connect Android Phone to Computer
During this step you will need to wait for the automatic driver installation to complete. There are times that this will fail; if this happens, simply try again. If the driver download continues to fail, you can manually download the drivers from your devices’ manufactures website.
Step 6: Click ROOT
Once you select ROOT it is EXTREMELY important that you do not unplug the USB cable, turn off your phone, or try to run any other applications. Just don’t touch anything and you will be fine!
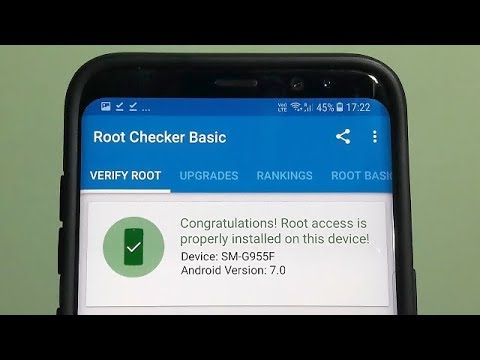
Step 7: Root Successful
You have successfully rooted your Android phone. Now have fun!
I have rooted every Android phone I have owned. Now its your turn. Once you have had a chance to play around with your rooted Android phone, let us know what you think in the comment section below.
Tell me if this sounds familiar: you just bought a new smartphone, and before you’ve even synced up your Candy%20Crush SagaCandy Crush account, there were at least 30 apps on your home screen just taking up space. To add insult to injury, They can’t be deleted; they can only be shuffled around. Where did these random apps come from? How did they get there? What do they mean?!
Before you go crazy, there is a possible solution to your woes. It’s called ‘rooting’. For those of you who do not know what rooting your phone is, rooting is giving yourself root access to your device, like the roots of a tree. Simply put, you have the ability to alter settings that the manufacture blocks.
Now for the million dollar question: should you root your phone? Of course you should root your phone! How do you expect to get the most out of your device with rooting it? To tell you the truth, however, this question tends to be more difficult to answer than it initially appears to be. There are some definite drawbacks to rooting, so you should not make this decision unless you understand the good and the bad.
Well… Let’s get to it!
The Good
Application Manager– One of the most annoying issues I came across before I decided to root my device was not being able to uninstall pre-installed applications. Almost all phone carriers/manufactures have applications that come pre-installed when you purchase your device. The problem is, most of these applications never get used and end up taking up much needed space. If you decide to root your device, you have the ability to remove any application you do not use.
Increase Speed and Battery Life- Rooting has the much needed ability (at times) to increase your battery life so you don’t need to live next to a power outlet. It can also give you better performance when running an intense app. Although there are some good apps out there for non-rooted users, these apps go to a whole new level when your phone is rooted. For example, SetCPU allows you to overclock your CPU when you need better performance, or underclock it when you are looking to save battery life.
Install Incompatible Apps– One of Androids biggest selling points is how open it is. Samsung%20Galaxy Note 4, Frosted White 32GB (AT&T)Android does a great job of not locking you down. However, you can still find some limitations when trying to get the features you want. When rooting your phone, you have the ability to install apps that are blocked by your carrier or incompatible with your device.
Install Custom ROM– This is probably the number one reason why you would want to root your phone. At times the stock ROM does not do what you need it to do or simply does not have a good layout. Regardless of the reason, rooting your device allows you the ability to install a custom ROM. There are thousands of ROM’s available for almost every phone, and this means that the possibilities are endless. If there is something your phone does not do, you can rest easy knowing there is probably a ROM out there that can get the job done. BAZINGA!
The Bad
Potentially Voids your Warranty– Rooting your phone is not typically supported by your manufacture. If this wasn’t the case, you would see phones that give you root access when you buy them. With that said, if you root your device you are potentially voiding any warranty that you may currently have. While it is possible to re-install the stock ROM back on your phone, there is no guarantee that the phone manufactures won’t catch on.
It’s not Always Easy– Rooting your phone is not always as easy as 1-2-3, or even A-B-C. (Yes, I just went there) While some devices are relatively simple to root, other devices can really throw you through a loop. It will take some time, effort, and research. Even if you consider yourself tech-savvy, rooting your phone can cause some major headaches.
Say Bye-Bye to Updates– Some users want to root their device, but do not want to install a custom ROM. If you do not have a custom ROM installed you will noticed that when an update is available for your phone you will not be able to install it without removing the root. I am sure you are saying “but you can just root your device again”. Easier said than done! If you install a major update, like the one we are currently waiting for (Android 5.0), you need to make sure that the root you are installing is compatible with the update. For most devices, developers are good at getting the root updates out fast. At times there are, however, long waiting periods.
BRICK- This is the number one reason why users do not root their phone. Simply put, if you do something wrong, your phone could turn into an $800 brick. Turing your phone into a brick is easier than you think. Pressing the wrong button or installing the wrong files are just two ways to brick your phone during the rooting process. While there are ways for you to ‘unbrick’ your phone, there is no guarantee the digital defibrillator will work. At least not without sincere prayer.
These are not the only reasons why you ‘should’ or ‘should not’ root your phone, but they are some of the popular ones. Before you make the decision I would urge you to understand what is involved. I have rooted every smartphone I have owned up to this point. I have yet to brick a phone, but that does not mean that I have not almost had a heart attack. This has also motivated me to decrease my fast food intake. I probably should have added that to the ‘good’ list above.
What are your thoughts? Why would or wouldn’t you root your phone? Have you had the heartbreaking task of trying to unbrick your phone? Let us know if the comment section below.
Luckily, there are many people out there in the world much smarter than I…
Many of us were excited to get our hand on the PlayStation 4 (PS4) when it was first released. There were so many improvements to the design, hardware, and controller; how could one not be excited. Upon opening the box for the first time, I could hardly contain my excitement. There I was sitting in the basement of my parents’ house (my house was being built) carefully cutting the sticker that binds the box together. As I open the box the smell was beyond amazing and I saw it for the first time, wrapped in plastic, a beautiful black box with the elegant PlayStation logo on the right side.
At that moment in time I knew my life would change forever. After spending about a week of my life playing a variety of games, I decided that I would finally stream a movie from my computer to the PlayStation 4 for the first time. I quickly realized that the PlayStation 4 did not have DLNA capabilities like the PlayStation 3 had. I sat there in disbelief thinking could PlayStation 4 really not have DLNA capabilities? At that point I decided to turn to my most trusted friend Google!
After five minutes of searching my nightmare came to life, the PlayStation 4 did not have DLNA capabilities at launch. Luckily, there are many people out there in the world, much smarter than I, which have provided the ability to stream movies from your computer to your PlayStation 4. To do this you will need to use an application called Plex. Plex is a media server that allows you to stream media across almost any smartphone, tablet, smart TV, and video game counsel.
Setting up Plex is relatively simple. Follow the step-by-step instructions and you will be ready to stream videos to your PlayStation 4 in no time.
Step 1: Download and install Plex Media Server to your PC
Plex Media Server is free to download and can be downloaded directly at their website. Click here to be directed to the Plex download page.
Once you have downloaded the files install and run it. You will see a Plex Media Server icon on your desktop telling you that the application is running.
Step 2: Access Plex via a web browser
You will want to create an account so you can sign in each time to upload to your video library.
After you have you have created an account and are signed in go to 127.0.0:3400/web on your PC. You will be directed to your Plex homepage where you will be able to add moves to your library.
Step 3: Add media to your library
In order to view media on your PlayStation 4 you will need to first add the media to your library on Plex from your computer. Select the “+” symbol on the left side of the page under the Plex search bar. Follow the simple steps Plex provides.
Step 4: Access Plex from your PS4
Since you will be accessing Plex from your computer you will need your computers IP address. To obtain this open up command prompt by typing in CMD in your start menu’s search bar. Select the CMD application. Type in “ipconfig” and you will be able to see your IPv4 address. Typically it will look something like 192.168.1.2.
Once you have obtained your computers IP address, open up your web browser on the PlayStation 4. Type in your https:// your IP address followed by :32400/web/index.htm. For example https://192.168.1.2:32400/web/inded.html. The Plex interface should then appear on your PlayStation 4 screen
Step 5: Configuration
Not all video formats will be available to play through Plex out of the box. You will need to make a slight configuration change in order to get videos to work on the PS4. You can do this by going to Settings->Web->Player->Show Advanced. Make sure that “Prefer AAC Audio” is checked (this must be done for the PlayStation 4).
Voila! You should now be able to stream movies from your PC straight to your PlayStation 4. It is importation to know that you might not be able to stream all format types. If you run into this situation, you will need to re-encode the file to MP4 format. (There are a variety of programs available on Amazon) With that being said, I have yet to find a video that I have not been able to stream to my PlayStation 4.
Back in April of this year, NBC news reported of a family that had an internet enabled baby monitor that was hacked by an intruder. The two parents of the home awoke to the sound of a man screaming at their 10 month old little girl from within her room. The man was screaming, “Wake up baby!” in addition to a number of expletives. If you want to talk about psychologically scarring a child, I can foresee 10 years down the road, this little girl being petrified of anything connected to the internet.
These kinds of risks are not specific to baby monitor cameras. Essentially, anything that is connected to the internet comes with a level of risk of being accessed from the outside world. While there is no way to make your network 100% secure, there are a number of best practices that can keep your network more secure.
Now, before you go crazy investing in internet security, the other thing to keep in mind is motive. The effort required to secure your network should match the amount of risk you face. This can be measured by assessing the amount of motive there is out there to be hacked by someone. For example, the risk of Angelina Jolie’s webcam being hacked is far greater than your average citizen due to the monetary value of those images to reporters and fans alike. I’m going to recommend a few different techniques that you can use without having to invest heavily to secure your home.
Additionally, this article is a bit lengthy and includes a number of different techniques for securing your home network. Don’t be overwhelmed, take your personal internet security initiative one step at a time.
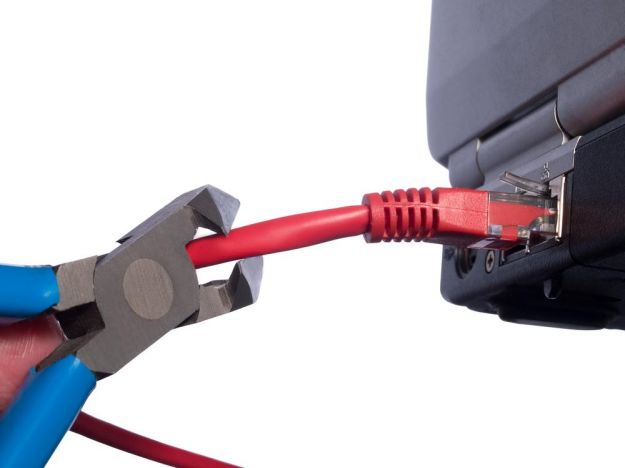
Disable Connection From The Internet (When Applicable)
In the example of the family featured on NBC news, theintruder likely used a program that scans IP addresses for open ports that have security and web cameras connected to them. Now, I own a similar camera by the same brand that I use for my own baby monitor. To be able to connect to the camera over the internet, you have to configure your router in a specific way to allow direct access over the internet. Enabling that enables anyone with an IP address sniffer to connect to your camera.
The easiest way to limit this risk is not to allow a connection over the internet. Consider the use case, when are you going to need to leave your child in the crib and go somewhere outside of your network? The correct answer to that question should be “never.” What good does a baby monitor do if you can’t attend to your baby when in need. The rule of thumb here is, even if your device supports a feature, that doesn’t mean you should always use it; especially if it opens up vulnerability.
Change the Default Username and Password
Now, you may not be using your camera or device to monitor a baby, for example security cameras. You may want to be able to access that camera over the internet. It is likely that our NBC family was using the default username and password that came with the camera. This makes it really easy for anyone that sniffs out your camera to gain access to it. This rule doesn’t only apply to your devices, but also to your router/modem itself.
The default login and password to the administrative section of a router is typically “Admin” and “password” respectively. What this does is allows anyone that connects to your network, the ability to open a back door to your connection. By opening a specific port or even enabling what’s known as a DMZ to a device on your network, this opens that device to a world of vulnerability. Best rule of thumb, change the default login to your password, and the default Wi-fi password to your router.
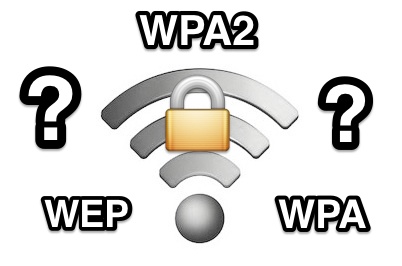
Encrypt Your Wireless Network
Encrypt is a fancy word. For a wireless network, it basically means putting a password with a level of security over the connection to keep unwanted people out of your network. There are a number of different types of encryption each with their own specific algorithm, or way of keeping people out. When you’re configuring your Wi-Fi password, you are likely to see three different options: WEP, WPA, and WPA2.
WEP: WEP is the oldest algorithm that has been shown to have flaws in the way it protects. It was so flawed that back in 2001, the FBI gave a public demonstration of them using free software to crack the password of a WEP encrypted connection in under a minute. While it has evolved and improved over time, it is still the most vulnerable type of encryption on the market. It’s also worth noting that the Wi-Fi alliance retired WEP encryption back in 2004. If your modem only supports WEP, it’s time to go buy a new modem.
WPA: WPA encryption was released as an answer to WEP’s problems. It had a number of new algorithms that increased the amount of security. It was designed, however, to be released as a firmware update to existing WEP modems. Due to that, the backbone of this type of encryption relied upon the WEP encryption programming which enabled exploited over time.
WPA2: WPA2 was the predecessor to WPA that addressed many of the issues of WPA, however, there are still a number of holes that remain from the original WPA encryption. According to Howtogeek, using the exploits in this algorithm can take anywhere from “2-14 hours of sustained effort with a modern computer” to gain access to your network.
Now, I’m sure your thinking, 2-14 hours of sustained effort can allow someone into my network even with the best encryption on the market? The answer is, “yes.”
WPS: That is why a function called Wi-fi Protected Setup, or WPS, was invented. Essentially, this function requires that you physically press a button on your modem prior to connecting any new devices. What this means is that if an intruder wants to breach your network, they are going to have to breach your property first. You may even want to put your modem into a padlocked closet somewhere for added security from suspicious guests. Check with your wi-fi router/modem manufacturer to find out if your modem supports WPS as well as how to enable and use it.
Upgrade the Firmware/Software
Another way in which intruders often get access to your computer/devices is through security holes in software that you have installed on your computer. For this reason it is critical that you keep your software up-to-date. For example, that annoying pop up that says you have a Window’s Update to install. While clicking delay so that you can pin the next big thing on Pinterest may be tempting, you may be risking your identity being stolen by someone gaining unauthorized access to your computer. The best rule of thumb, install those updates as soon as they release. Security holes are one of the most common reasons for a Window’s Update release.
This same rule applies to other devices such as smart phones and even wi-fi devices such as your baby monitor. In the example of our NBC family, they had a 3-year-old camera with outdated firmware that enabled the intruder access.
Filter By Mac Address
Another excellent feature of many routers is to create a list of acceptable devices that can connect to the network. Every internet connected device has its own unique Media Access Control (MAC) address. This is unchangeable and is hard-coded to each device. This is another excellent way to protect against intruders, though it is not spoof-proof. Intruders with enough motive can gain access to your router, see the available MAC addresses and make their computer appear to have an acceptable MAC address. This takes a lot of effort, and again, the motive needs to be there.
This method can be a bit annoying as any guest that wants access to your network will require a log in to the router and adding their specific MAC address to the white-list of accepted devices. If you’re using WPS, I don’t personally think you need to filter by MAC address as it is easier to just push a button on your router to allow a connection rather than logging in and entering a lengthy code. That’s just my opinion though.
Hide Your SSID
Another way to protect yourself is to hide the SSID of your modem/router. The SSID is the name that pops up whenever you search for wireless networks. If it is hidden, it won’t pop up during a search and you’ll have to enter and match the exact name of the network manually. Keep in mind that this does not make you invisible and again, someone with enough motive can discover your network. This will, however, likely keep your 11-year-old neighbor hacker hobbyist from access your network.
Conclusion
You may be overwhelmed with all of the different ways you can secure your network. I would start with assessing the amount of risk and then using a few of the best practices mentioned above. If you’re using WEP encryption, get that changed as soon as you can, then move on to some of the other methods.
What do you think about the above techniques? Are there any other methods that you have found to be effective? Let us know in the comments below.
One of the most common questions that any new father often has is, “How do I get the most tricked out gangster baby monitor, without having to mine for gold?” Trust me, I hear you. As a brand new father, and tech enthusiast, I’ve found a solution for you to combine many of the technologies that you likely already have to create the ultimate baby monitor.
What you need for this:
An Android phone that supports mirroring on Chromecast
See our article on mirroring for details
A Chromecast
Any wifi security camera/baby monitor that can connect to your Smartphone (I used a Foscam)
These 3 technologies on their own are incredible. Together, they make a married couple on steroids. First, you have to setup your camera. This typically will involve you hardwiring the camera to your router, installing some software to get it connected to the internet and through your WIFI encryption. Once you’ve done that, then you need to connect the monitor to your phone.
Most cameras now days are relatively user friendly and only require you to download an app. Then, as long as you’re on the same router, the app is able to identify the camera’s IP address to connect.
Once you connect your phone to the camera, you should have the ability to not only see the other side, but control the camera as well. Foscam cameras also allow you to talk back through the camera, though we’ve never had success comforting our baby through the medium of a little black camera; plus the speaker is really loud.
Now that your monitor is connected to your phone, go into your Chromecast mirroring app and mirror your phone to your TV. Just like that, your child is now 80 inches wide and can be seen from anywhere in the house! The nice part about using the Chromecase is that it is wireless, so you can keep your phone on you while working around the house and even adjust the camera on the fly without even having the move.
Another benefit of using your television is that it boosts your audio.
One of my biggest gripes with using my phone as a baby monitor is that it is so quiet. If I’m not right next to the phone, I can’t hear my daughter crying. (You can also plug in headphones, but lets be honest, that’s not nearly as fascinating as imagining the number of packets that are being thrown around on your network from the Camera to the router to your phone back to the router to your TV. It’s always a great day when you feel like you just finished playing Mouse Trap (the board-game) with technology.
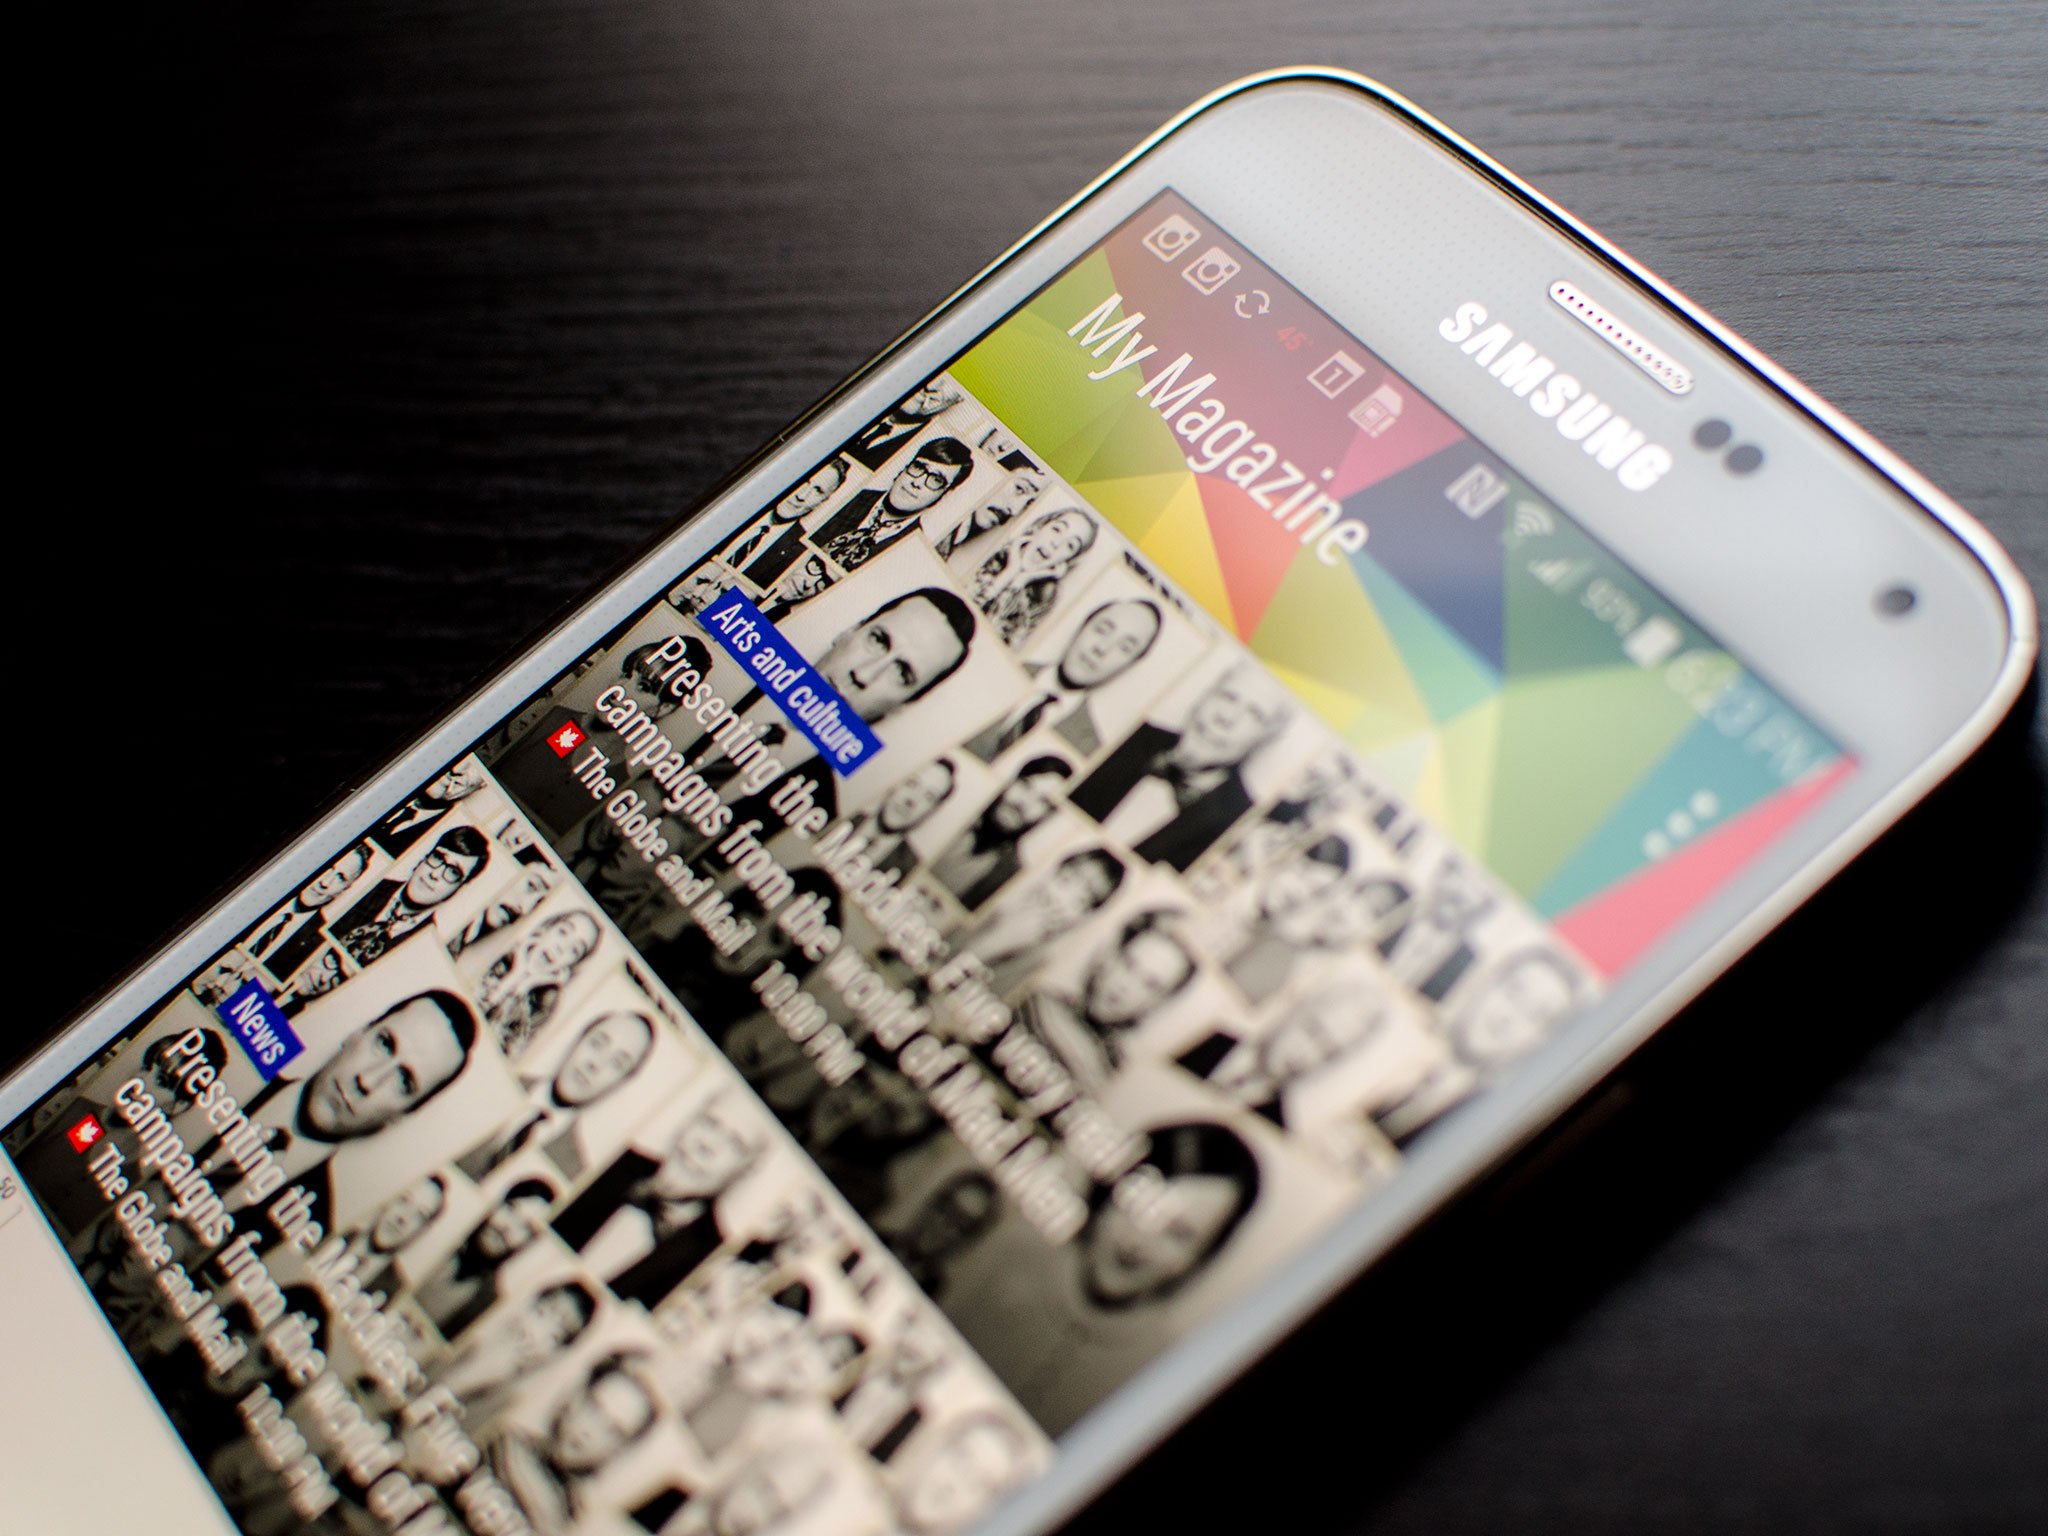
As Samsung users know, the Samsung%20Galaxy S5 SM-G900H Exyon Quad Core 1.9GHz processor, 16GB, Factory Unlocked International Version WHITESamsung Galaxy S5 is packed with features. While many of them are easy to find and turn off if you decide you do not need it, others may be a little more difficult. Over the last couple weeks I have had coworkers and friends ask how to turn off the My Magazine from their home page. I spent about 10 minutes in the setting menu trying to find out where to turn the feature off, but was unsuccessful. It took me a few more minutes of frustration, but I finally figured it out.
My Magazine can be turned off in a few simple steps. You just need to make sure you are looking in the right place. Here’s how you do it:
On the home screen, hold down the task-switching button (it’s on the left of the home key)
Google Maps is one of the most used mapping services available today. For those of us who are directionally challenged or are traveling in an unfamiliar place, Google Maps is a life saver. But what about those times when your phone does not have service? While your GPS will work just fine, Google Maps does not typically work without some type of data connection.
Luckily, Google has developed a way for local drivers and travelling explorers alike to utilize Google Maps even when offline. So, if you are planning a trip or are going on a long hike, follow these simple steps and you will be able to use Google’s superior mapping service even when you do not have a data connection.
1. Verify Google Maps is up to date on your device
2. Search for the area you would like to view while offline
3. Select the pin or area searched on the bottom of the screen
4. Select the three dots on the upper right corner of the screen
5. Select Save Offline Map
6. Select Save
7. Name the Offline Map and select Save
You can now access the maps you saved offline, and are free to explore without the fear of getting lost! As always, if you encounter any issues when trying to save the map for offline use, let us know in the comment section below.
How do I increase my cell phone battery life? This is one of the most common questions all of us ask today. We ask for faster processors, bigger and brighter screens, and a smarter, more intelligent operating system while at the same time not wanting to carry around a brick. There is only so much battery you can fit inside a smart phone, so you need to come up with ways to help your phone last throughout the day without having to continually keep it connected to the charger. So what are ways to increase your cell phone battery life? Try out the tips below to help increase your phones battery life.
1. Understand what is consuming you battery. Android devises provide the ability to understand what is consuming your battery. You will see what percentage of battery life is being consumed in descending order. As you understand what applications are consuming your battery life, you can make decisions on turning off specific features or uninstalling applications that you do not use. You can see this under Settings -> Battery
2. Lower your phones brightness and turn off auto brightness. Your phone screen usually consumes between 25- 40% of your battery life. You will be surprised by the amount of battery life you save by turning down the brightness of your phone screen and turning off your phones auto brightness function. You can changes this is under Settings -> Display -> Brightness
3. Use power saving mode. Almost all Android devices today come with a Power saving mode built into the phone. By enabling power saving mode your phone can control different features of your phone to save power. This is a simple step that can really help improve your cell phones battery life.
4. Turning off radios you don’t use. Keeping the GPS, Wi-Fi, and Bluetooth on when you are not using them will have a major effect on your phones battery life. When these features are turned on your phone continues to search for connections. Most of us do not need these features on all day. Only turn on these features when you need to use them. You can turn these off by dragging down the notification bar and selecting which features you would like turned off.
5. Kill apps that you are not using. Many of us do not turn off applications that we have recently used, which causes these applications continue to run throughout the day. As the day goes on, more and more applications are open and running in the background. By killing these applications you are not allowing them to be run when you are not using it. You can do this by opening your application manager (done on most android devices by holding down the home button) and selecting the trash button or swiping the application from left to right.


